Documentation
How to start
Documentation how to set up entries for selling can be found here (contest-gallery.com/documentation-ecommerce).
1. Create a gallery.

2. Add files.

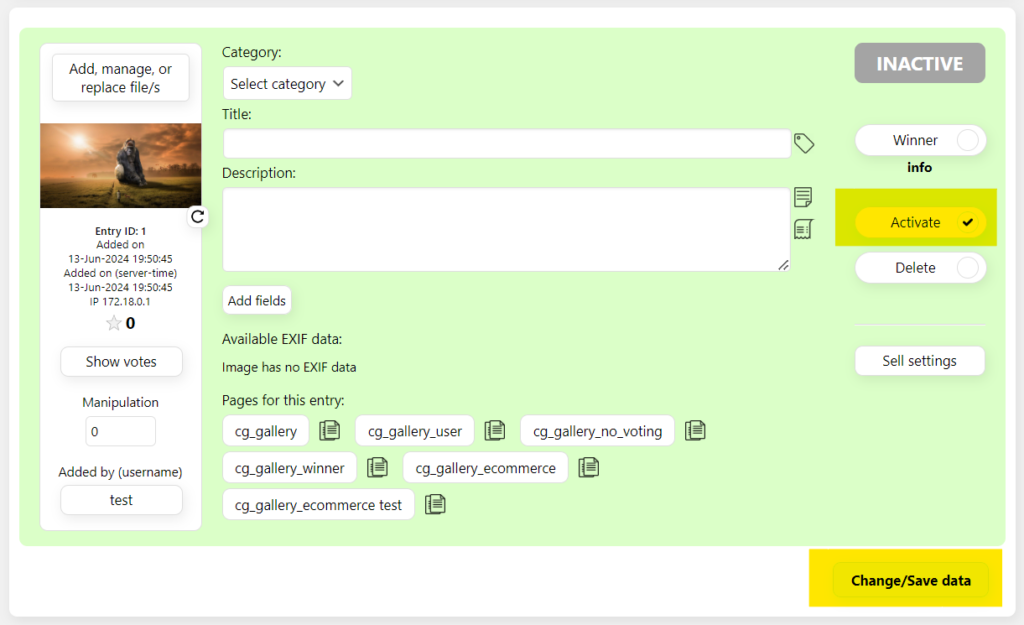
3. Activate files and “Save changes”.
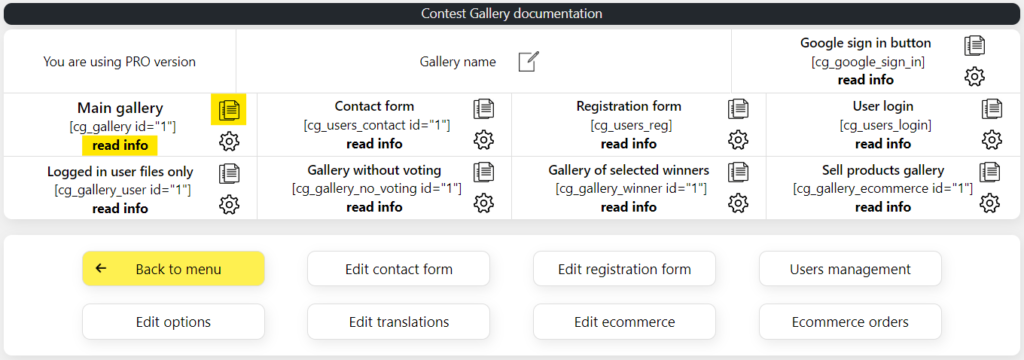
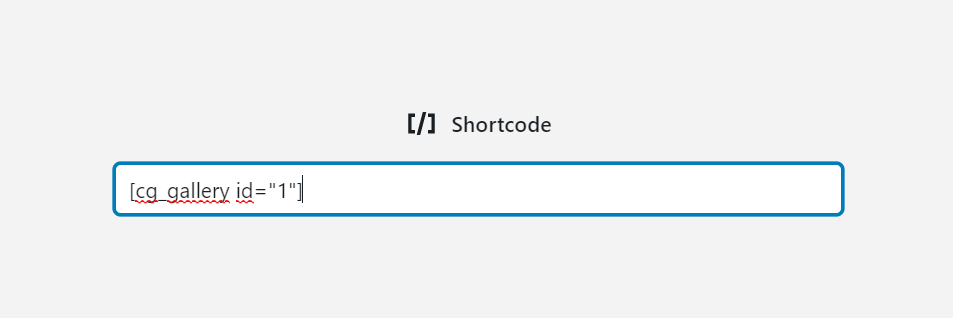
4. Copy cg_gallery shortcode (“read info” to know more about a shortcode).
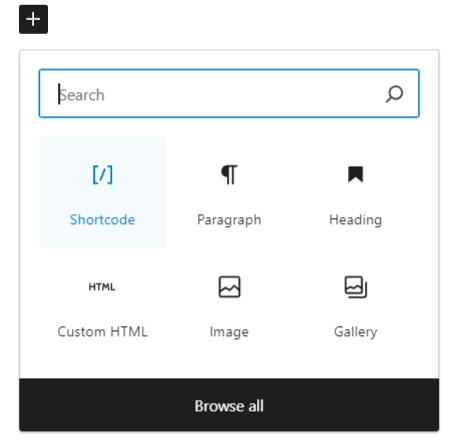
5. Go to a page and add a “Shortcode” type field (you should be able to use also a HTML type field).
6. Add shortcode to the field.

7. Update your page.

8. Go to the page and see the gallery.

Find setting examples below.
Gallery view options
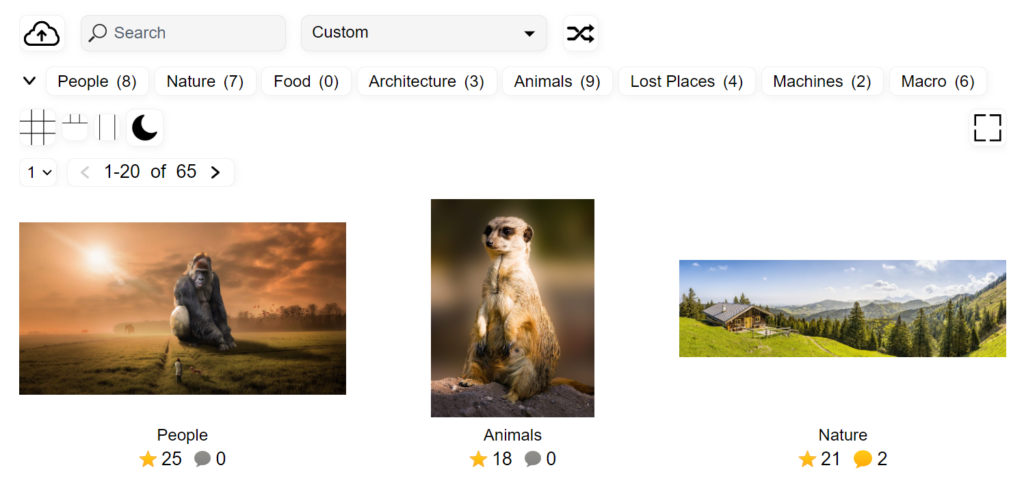

“Edit options” > “Gallery view” > “In gallery upload form button”

“Edit options” > “Gallery view” > “Allow sort”
“Edit options” > “Gallery view” > “Random sort button”

“Edit options” > “Gallery view” > “Allow search for images”

Views management: “Edit options” > “Gallery view” > “View options and order“

“Edit options” > “Gallery view” > “Enable switch color style button (also round borders and bright or dark style can be configured at that area)”

Voting: “Edit options” > “Voting options” > “Allow vote via 1 star rating” or “Allow vote via multiple stars”

“Edit options” > “Entry view” > “Comment options“

Entry title: “Edit contact form” (then go to a field type like “Input”,”Textarea”,”Select”,”Select Categories” or “Date) > “Show as main title in gallery view”
Entry view options
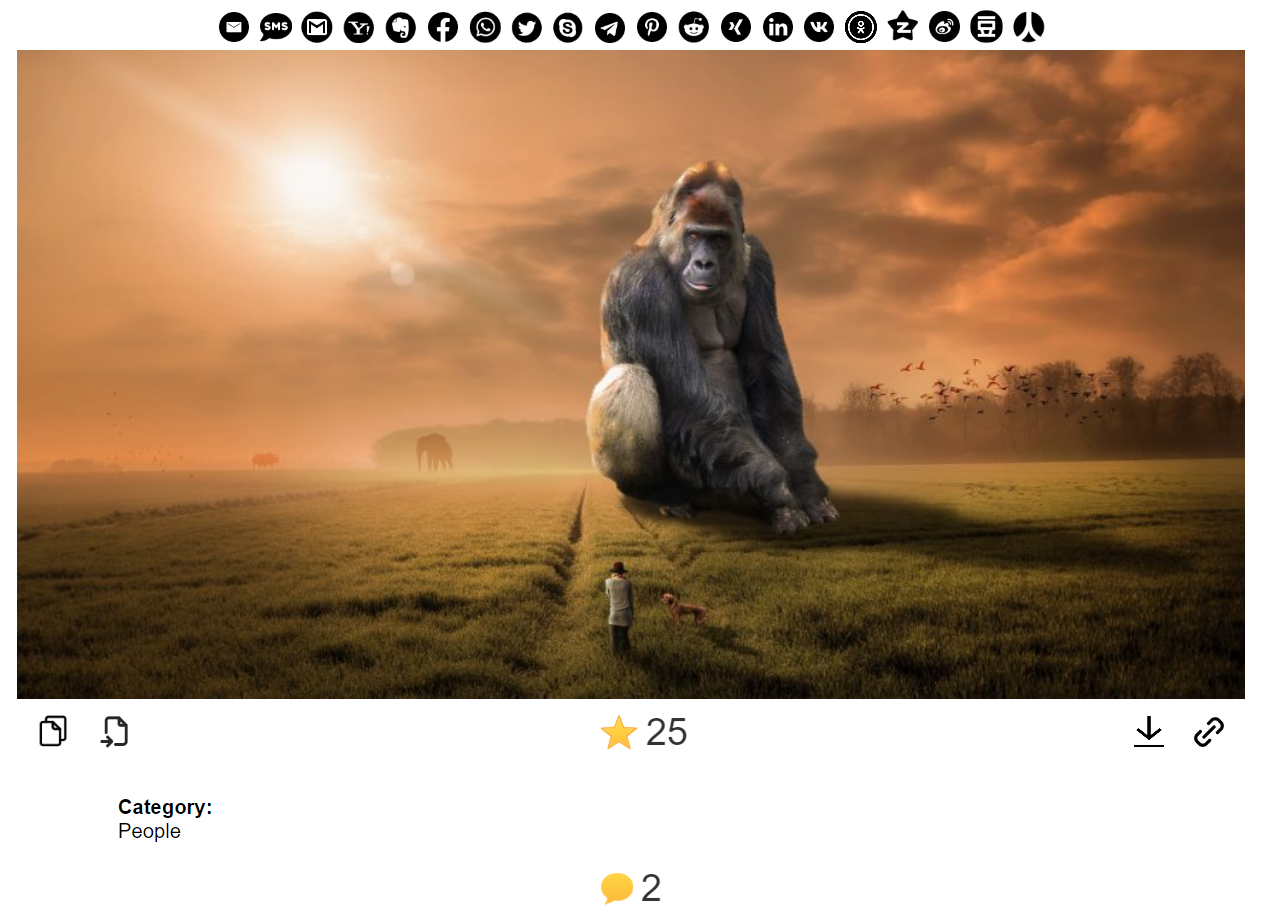

“Edit options” > “Entry view” > “Copy original file source link button“

“Edit options” > “Entry view” > “Forward to original file source button“

“Edit options” > “Entry view” > “Download original file button“

“Edit options” > “Entry view” > “Copy gallery entry link button“

Voting: “Edit options” > “Voting” > “Allow vote via 1 star rating” or “Allow vote via multiple stars“

“Edit options” > “Entry view” > “Comment options“

Information in entry view: “Edit contact form” (then go to a field type like “Input”,”Textarea”,”Select”,”Select Categories” or “Date) > “Show as info in single entry view“
Contact/Upload options
Contact/Upload form fields can be edited in “Edit contact form”. Use cg_users_contact shortcode to display contact/upload form or use “Edit options” >>> “Gallery view” >>> “In gallery contact form button” (can be configured for cg_gallery, cg_gallery_user, cg_gallery_no_voting shortcode)
Following fields can be displayed in frontend as entry information: input, textarea, select, select categories, URL
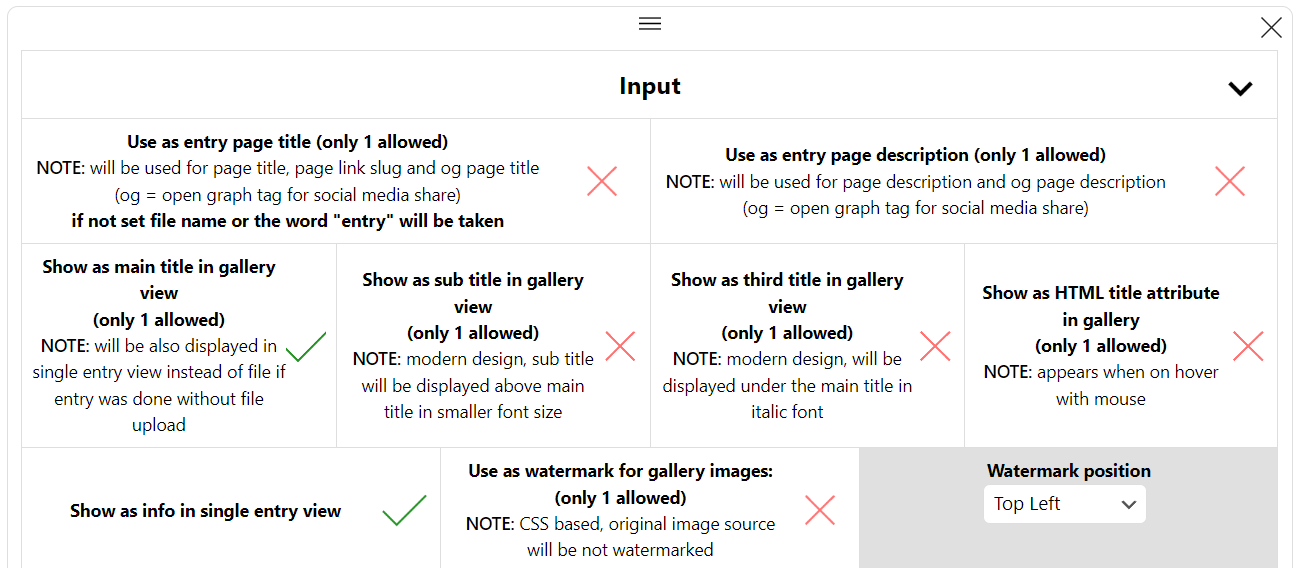
10 different field types can be selected
- Input
- Textarea
- Select
- Select categories
- Email (only PRO version)
- URL
- Check agreement (only PRO version)
- HTML (only PRO version)
- Simple captcha (I am not a robot)
- Google captcha (I am not a robot)
Further options like, text before after contact form, confirmation text, allowed image size configuration, limit contact entries for a user and more… can be found in “Edit options” >>> “Contact” …
Registration options
Registration creates a real WordPress user, which will be available in WordPress >>> Users area.
You can also use any other plugin for registration and login which creates WordPress users.
Registration form fields can be edited in “Edit contact form”. Use cg_users_reg shortcode to display registration form.
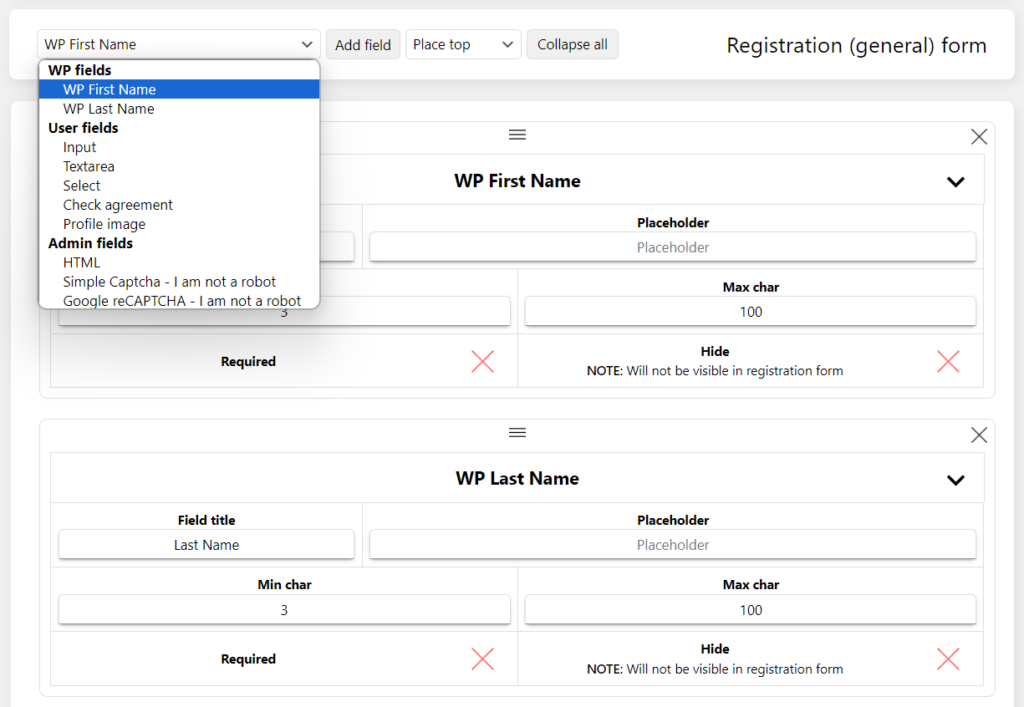
7 different field types can be selected + 6 default field types
- Input
- Textarea
- Select
- Check agreement (only PRO version)
- HTML (only PRO version)
- Simple captcha (I am not a robot)
- Google captcha (I am not a robot)
- WP First Name
- WP Last Name
- WP-Nickname (always avaiable by default)
- WP-Email (always avaiable by default)
- WP-Password (always avaiable by default)
- WP-Password-Confirm (always avaiable by default)
Confirmation mail options
Go to
“Edit options” > “Registration options” > “Confirmation mail options”
You can define addressor, reply, subject and content
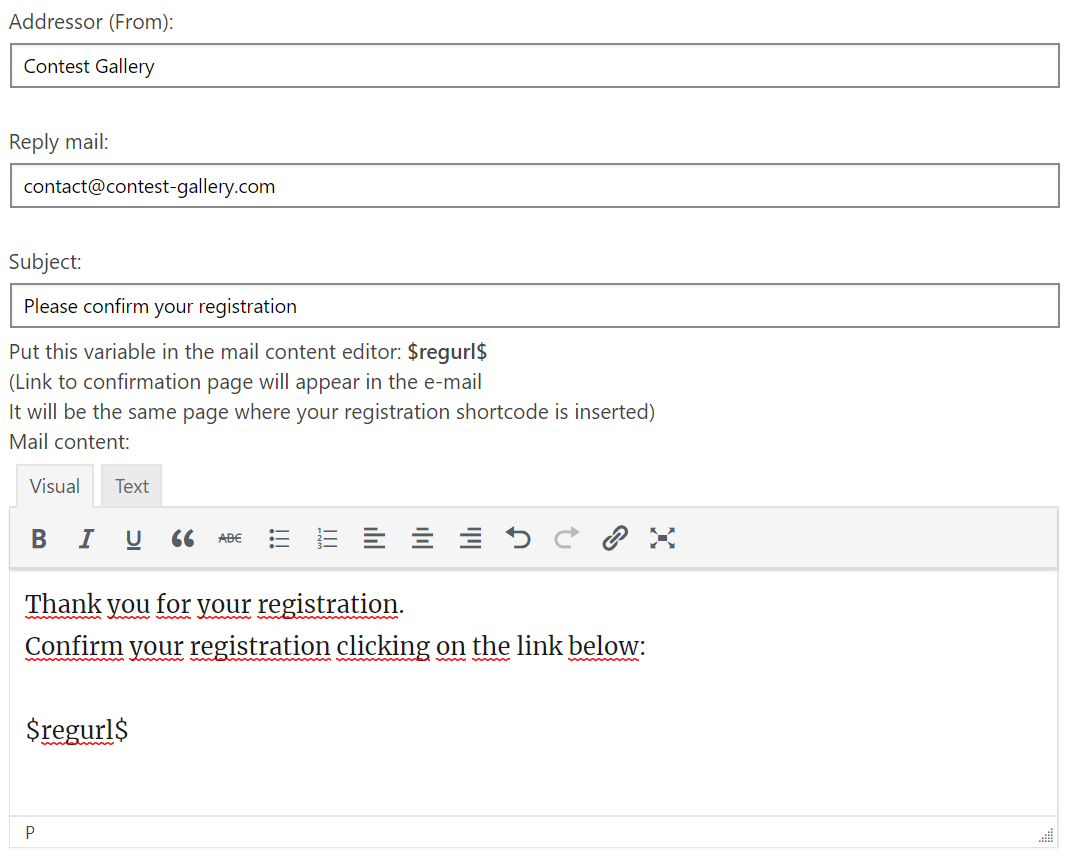
Further options like, confirmation text or confirmation e-mail options and more… can be found in “Edit options” >>> “Registration” …
Display URL as short clickable text example
(Works for all e-mails with $regurl$ and $url$ variable)
The $regurl$ or $url$ (confirmation/activation links) can be also displayed as short text:
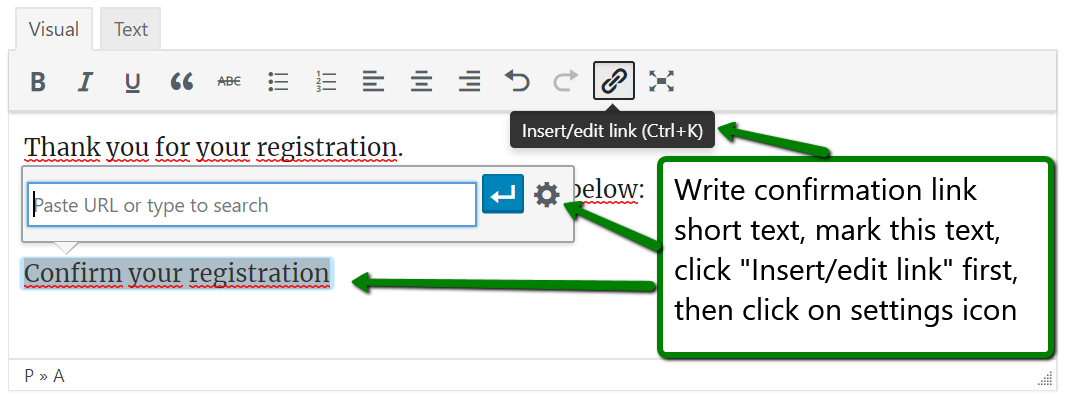
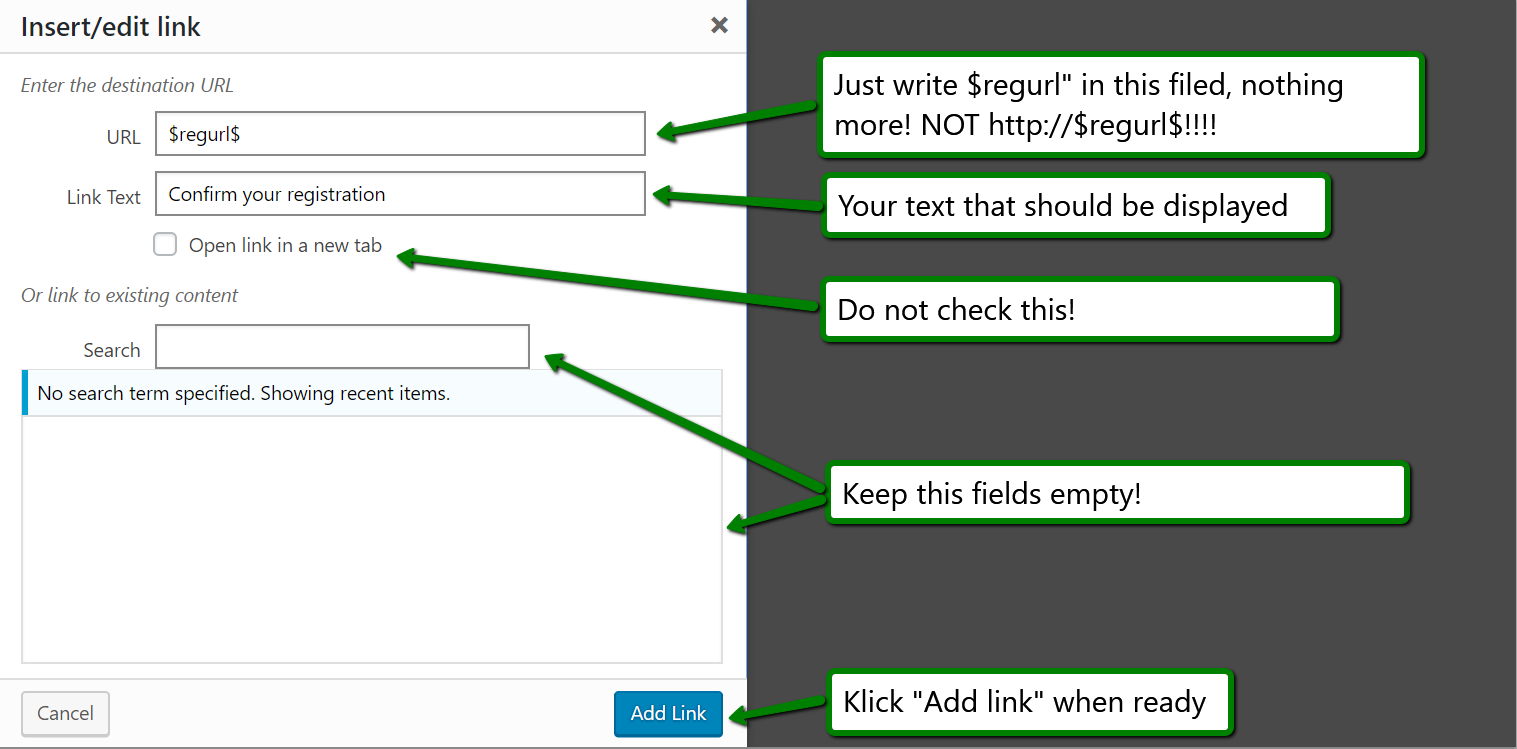
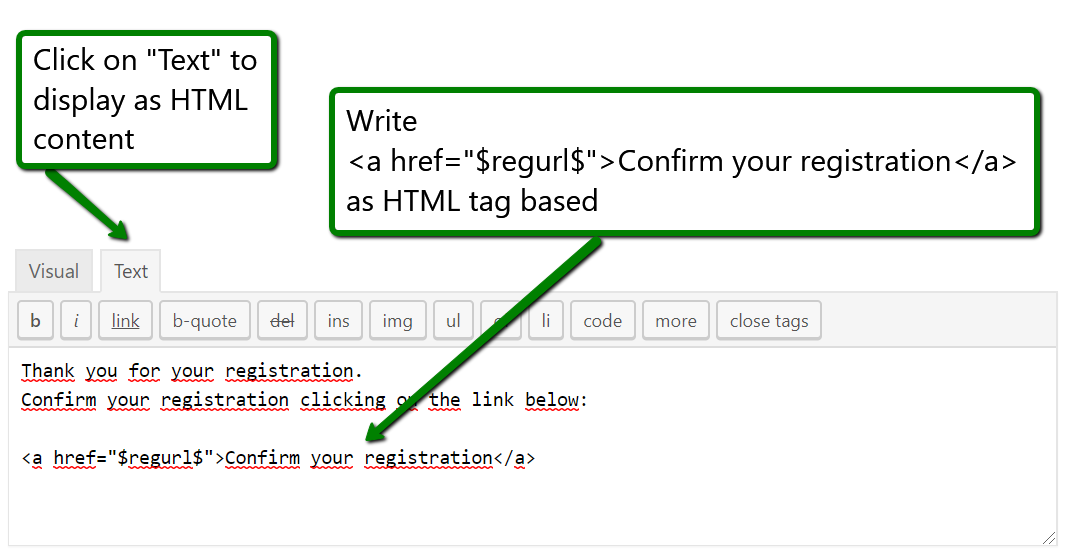
Or by adding as HTML tag like
<a href=”$regurl$”>Confirm your registration</a>
Shortcodes
How to use
Use following WordPress page/post blocks to insert shortcodes:
Shortcode

HTML


Classic


Shortcodes explained
Gallery
- cg_gallery
All images are visible
All configured
options are active
Voting is possible
Can be added multiple times on a
page with different id’s - cg_gallery_user
Display
only uploaded images of logged in user
Voting is not possible
Show always all votes
“Hide until
vote” and “Show only user votes” options are disabled
“Delete votes” is not
possible
User can delete own images if they are activated
Can be added
multiple times on a page with different id’s - cg_gallery_no_voting
All
images are visible
Voting and sort by voting is not possible and not
visible
Can be used as normal gallery without voting
Can be added
multiple times on a page with different id’s - cg_gallery_winner
Only images which are marked as winner will be displayed
Total voting is visible
Voting
is not possible
Upload
- cg_users_contact
Displays contact form
Registration/Login
- cg_users_reg
Displays registration form
Can only be added only once on a page - cg_users_login
Displays login form
Can only be added only once on a page
