Documentation Ecommerce
Create and purchase a selling product
Adding a file to gallery documentation can be found here (contest-gallery.com/documentation).
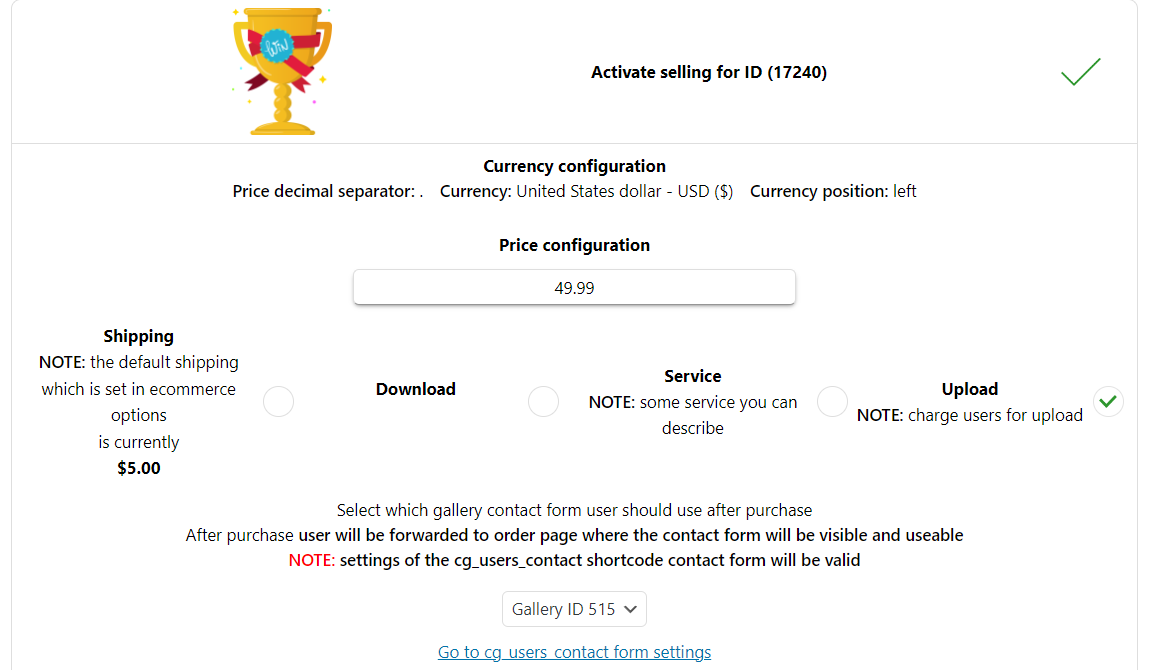
1. After adding a file in backend click “Sell settings”.

2. You can select between “Shipping”, “Download”, “Service” or “Upload”.
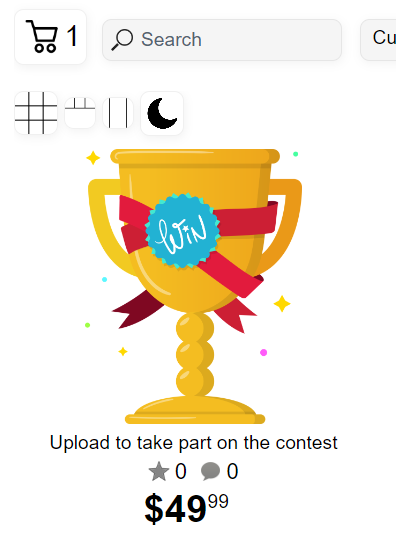
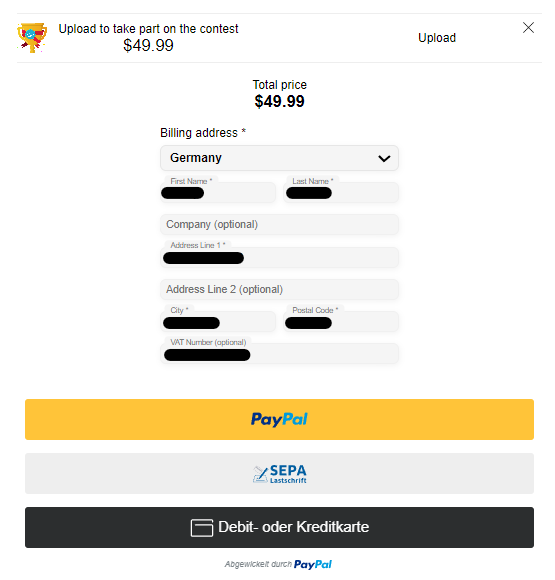
In following Example a sell of an “Upload” (charge users for upload) will be shown.
Select which gallery upload form should be used after purchase and how many uploads are allowed.
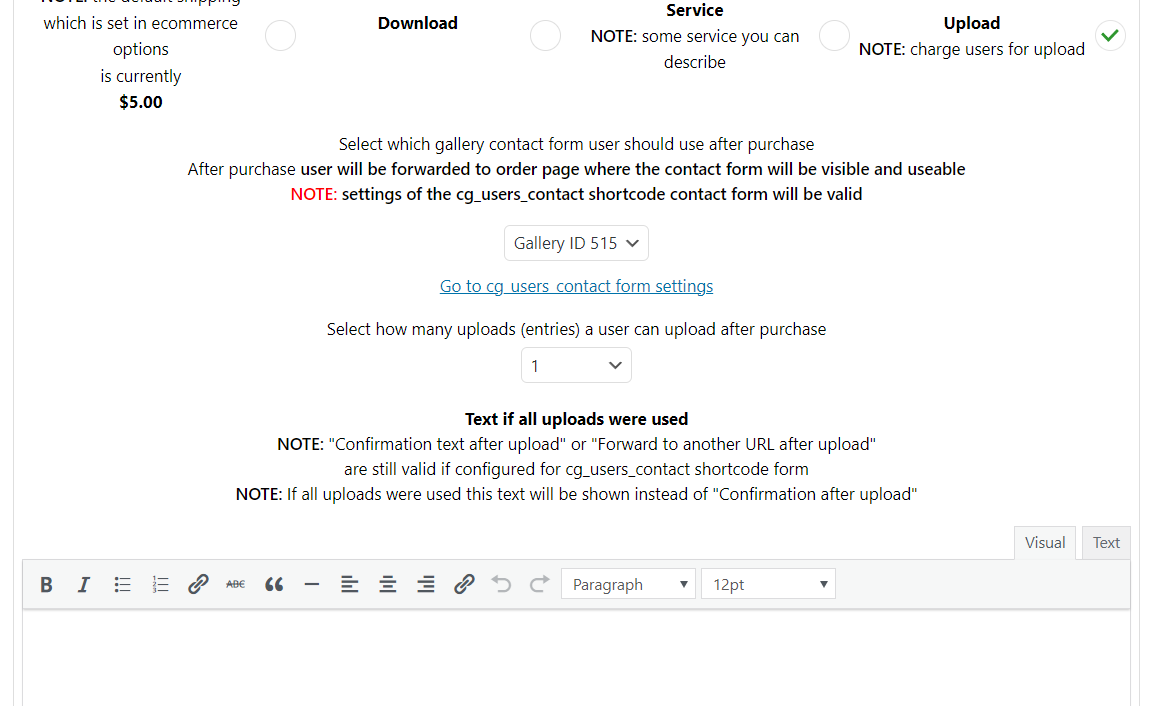
Configure text which should be displayed if all uploads were done by the user after purchase and “Save changes”.

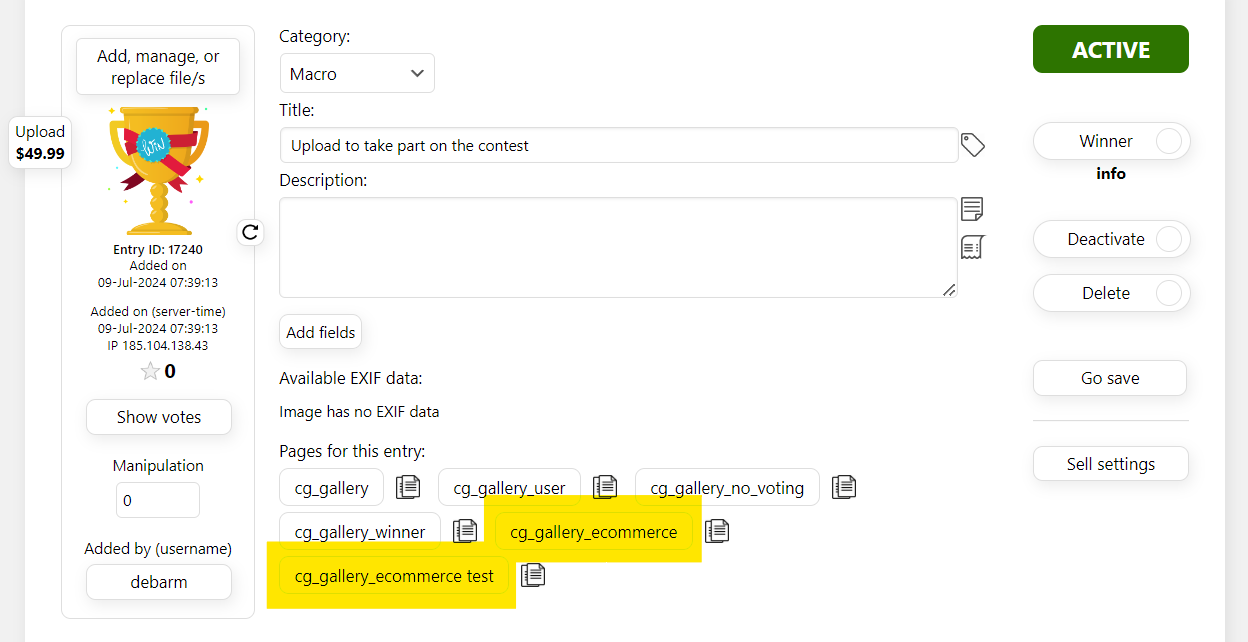
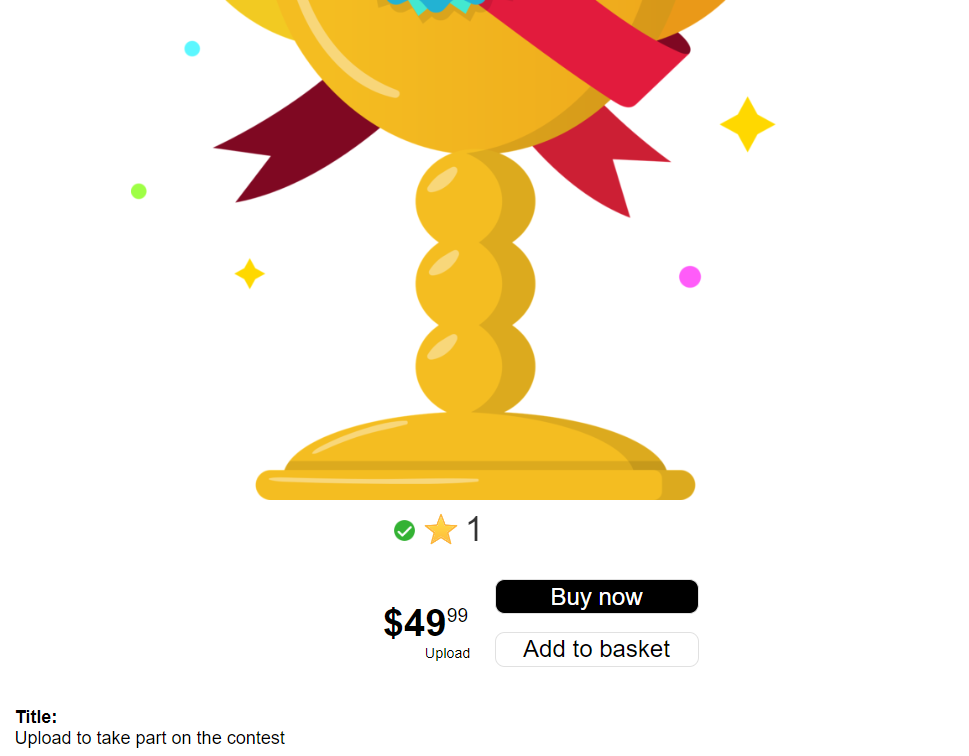
3. Entry now configured for purchase and can be already displayed in gallery view by using cg_gallery_ecommerce shortcode.
(cg_gallery_ecommerce shortcode is for displaying entries configured for selling).
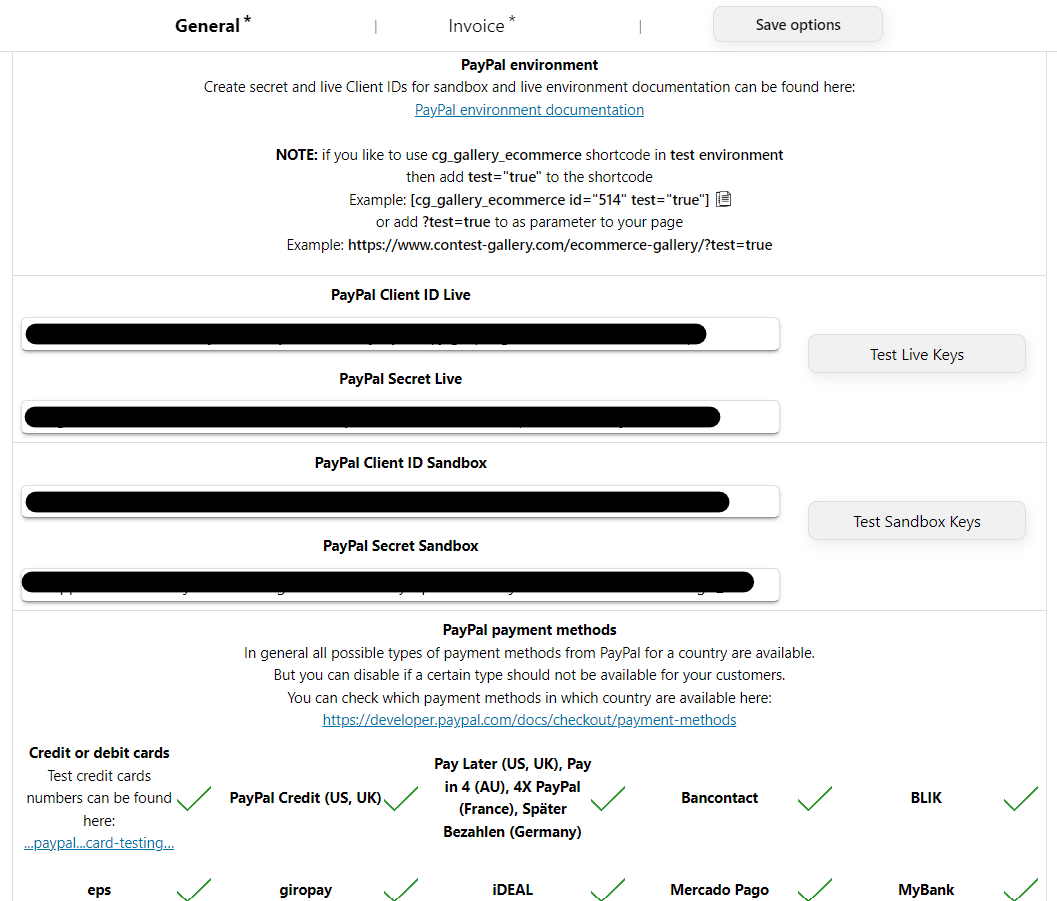
4. Now PayPal configuration is required. To do so go to “Edit ecommerce” in a gallery.

5. Add PayPal Client ID and Secret.
Documentation how to create Client ID and Secret can be found here (contest-gallery.com/paypal-environment-documentation).
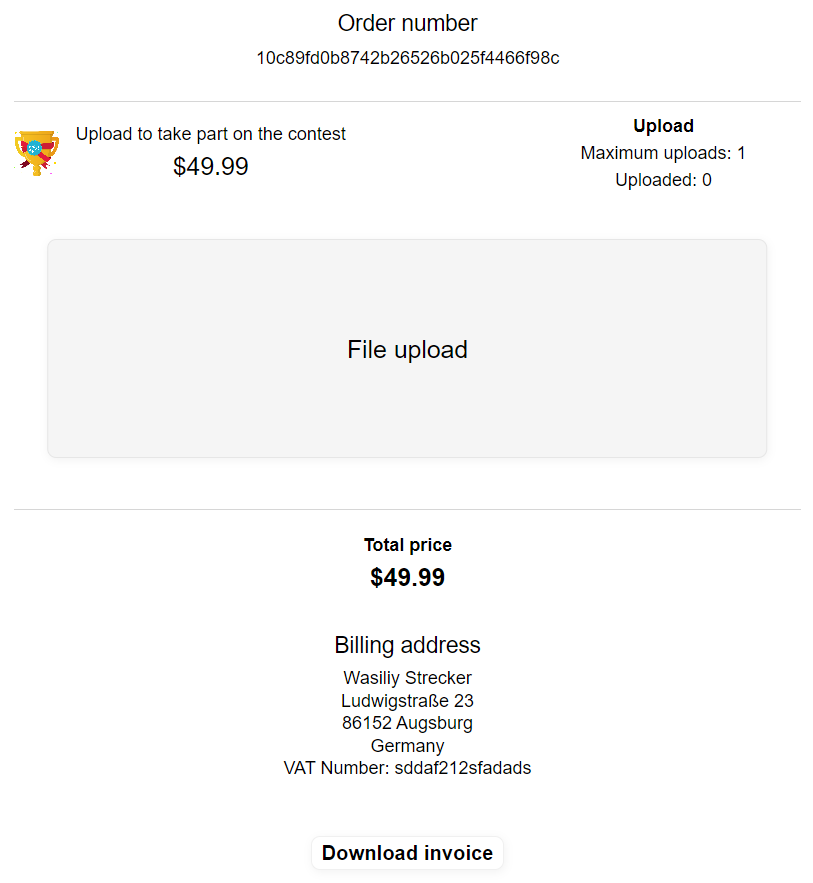
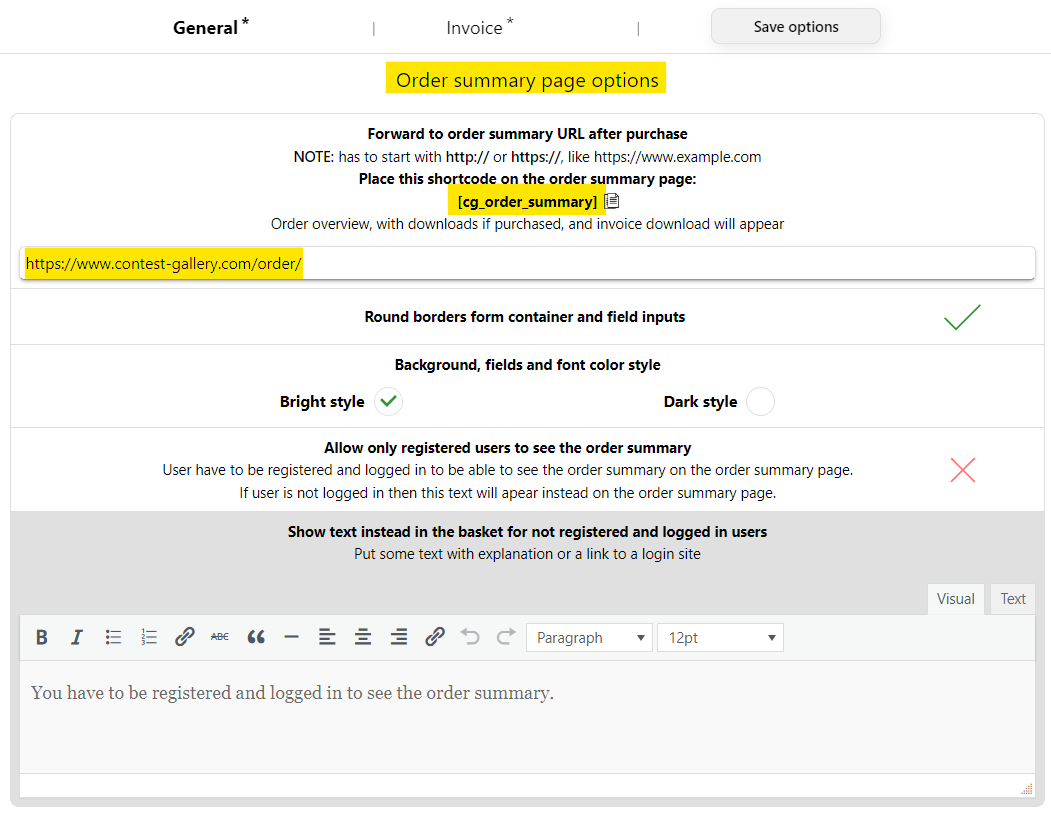
6. Place the cg_order_summary page shortcode on the page where should be forwarded after purchase and add the URL of the page also and “Save changes”.
7. Now make a test purchase.
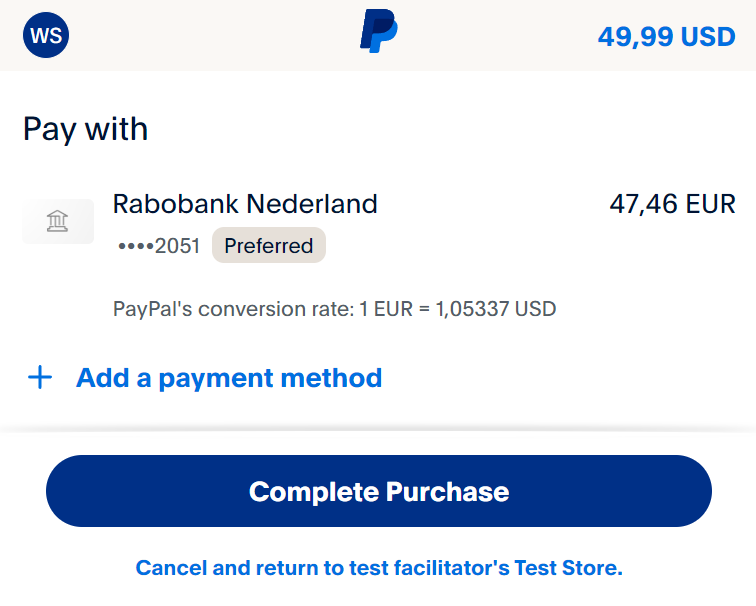
8. You will be forwarded to configured order summary page.
(In this case an “Upload” was purchased so users will be able to upload on the order summary page)